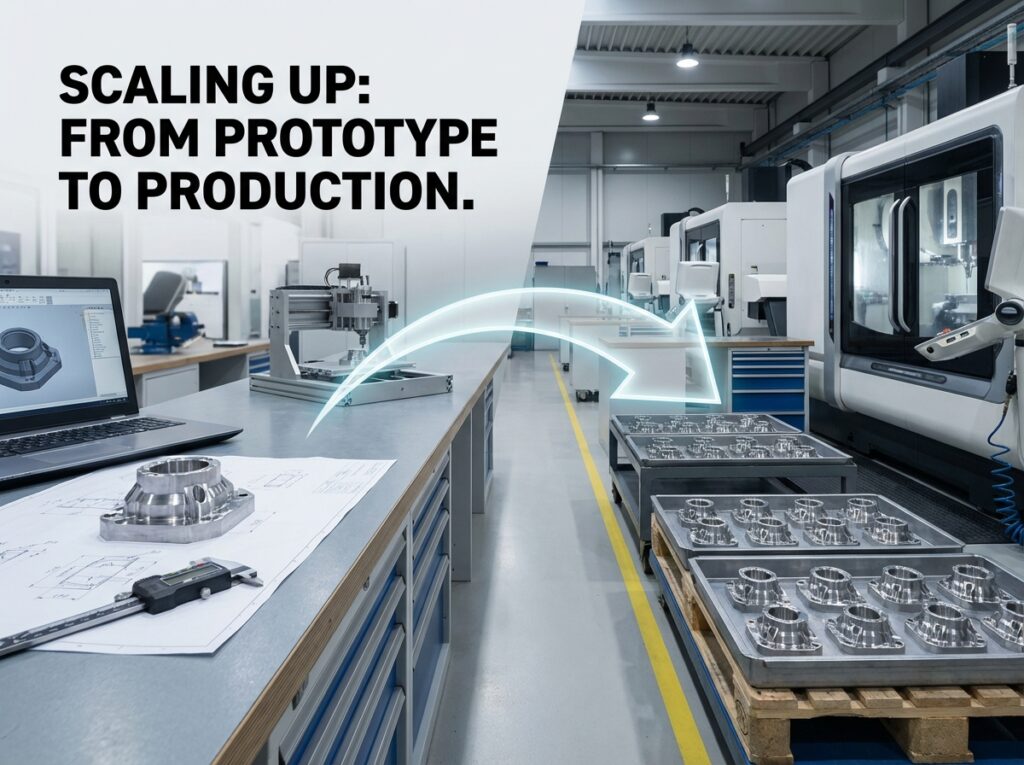
Getting a CNC prototype made is relatively straightforward. Getting that prototype to production — with consistent quality, controlled costs, and a supplier who can scale with you — is where most product development teams encounter unexpected friction.
The gap between a working prototype and a production-ready part is wider than it looks. Material substitutions, drawing changes, tolerance callouts that worked for one part but create yield problems at 500, tooling decisions optimized for speed instead of consistency — these are the issues that slow down production ramps and drive up costs.
This guide walks through the full path from prototype to production, and what to do at each stage to make the transition as smooth as possible.
The Three Stages of CNC Part Development
Stage 1: Prototyping — Design for Learning, Not for Production
The purpose of a CNC prototype is validation — geometry, fit, function, and sometimes structural integrity. At this stage, the drawing is likely to change. That's expected and healthy. The goal is to learn as fast as possible, not to optimize the manufacturing process.
A few things to keep in mind at the prototype stage. First, prototype in your production material whenever the validation is structural or thermal. Switching from aluminum to steel between prototype and production because "steel is the real material" invalidates your structural testing. Second, don't over-tolerance the prototype drawing. If you haven't proven that ±0.010mm is needed, don't call it out yet — you'll pay for precision you haven't validated. Third, use prototype iterations to identify which dimensions actually matter. After first fit-up, you'll know which features are sensitive and which have plenty of margin.
Stage 2: Pilot Run — Prove the Process, Not Just the Part
The pilot run is where most teams underinvest. After a successful prototype, there's pressure to go straight to full production. Resist it. A pilot run of 10–50 parts serves a different purpose than a prototype: it proves that the manufacturing process can consistently produce conforming parts, not just that one good part can be made.
At the pilot stage, run a formal first article inspection (FAI). Confirm that your supplier's setup produces parts that hit every dimension — not just the ones you checked by hand on the prototype. Review the FAI data critically: dimensions that are at the edge of tolerance on the first article will drift out of tolerance in production as tools wear.
The pilot run is also the right time to finalize your drawing. Any DFM changes — tolerances that are tighter than necessary, features that are difficult to machine consistently, material specifications that need clarification — should be resolved before the drawing is frozen for production.
Stage 3: Production — Freeze the Design, Control the Process
Once your drawing is released for production, the rules change. Design changes now require a formal Engineering Change Order (ECO) process — because uncontrolled drawing changes at production scale create traceability problems and can introduce new failure modes without adequate validation.
At production scale, what matters most is process consistency. Your supplier should be running from a validated setup with documented parameters — feeds, speeds, tooling, fixturing — and monitoring output against the control plan established during the pilot. In-process measurement and tool life management keep the process inside tolerance without relying on 100% end-of-line inspection.
Production pricing should also reflect the scale. Setup costs amortize over larger quantities, tooling is optimized for efficiency rather than flexibility, and scheduling becomes more predictable as the part joins a regular production cadence.
DFM: The Upstream Investment That Pays for Itself
Design for Manufacturability (DFM) review — ideally at the prototype stage, definitely before pilot — is the highest-return investment in any CNC product development program. A one-hour engineering review of a drawing can identify features that will cause disproportionate machining difficulty: unnecessarily tight tolerances, deep narrow pockets with poor tool access, thin walls that deflect during cutting, thread callouts on hard-to-reach surfaces.
Every one of these issues costs money to work around in production. Addressed at the drawing stage, they cost nothing. Our engineering team provides DFM feedback with every quote — flagging issues before they become production problems and suggesting modifications that reduce cost without compromising function.
Choosing a Supplier Who Can Go the Distance
One of the most common and costly mistakes in product development is using a different supplier for prototypes and production. The institutional knowledge built during prototype iterations — the fixturing approach, the tight features, the material quirks — is lost when you switch suppliers, and the new supplier starts the learning curve from zero.
When possible, work with a supplier who has the capability to support you from first prototype through sustained production. Evaluate them not just on prototype turnaround time, but on their quality systems, documentation practices, and production scheduling capability. A factory-direct supplier who owns their machines and controls their own process is better positioned to scale with you than a trading company routing work through subcontractors.